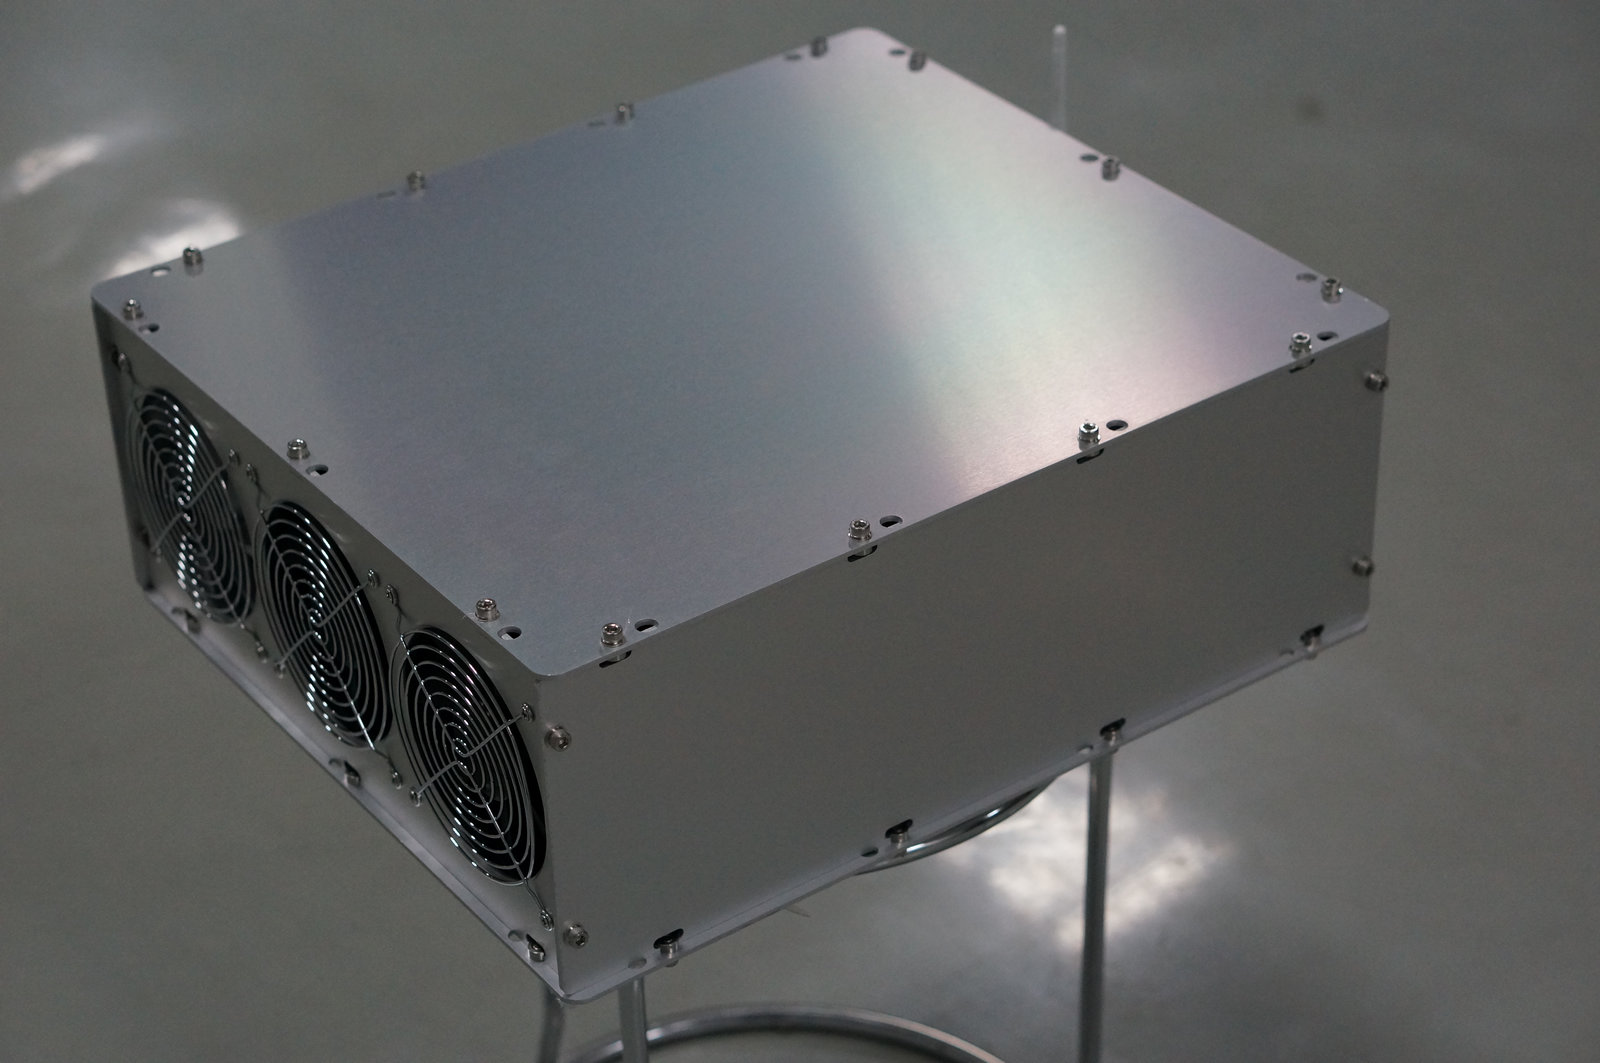
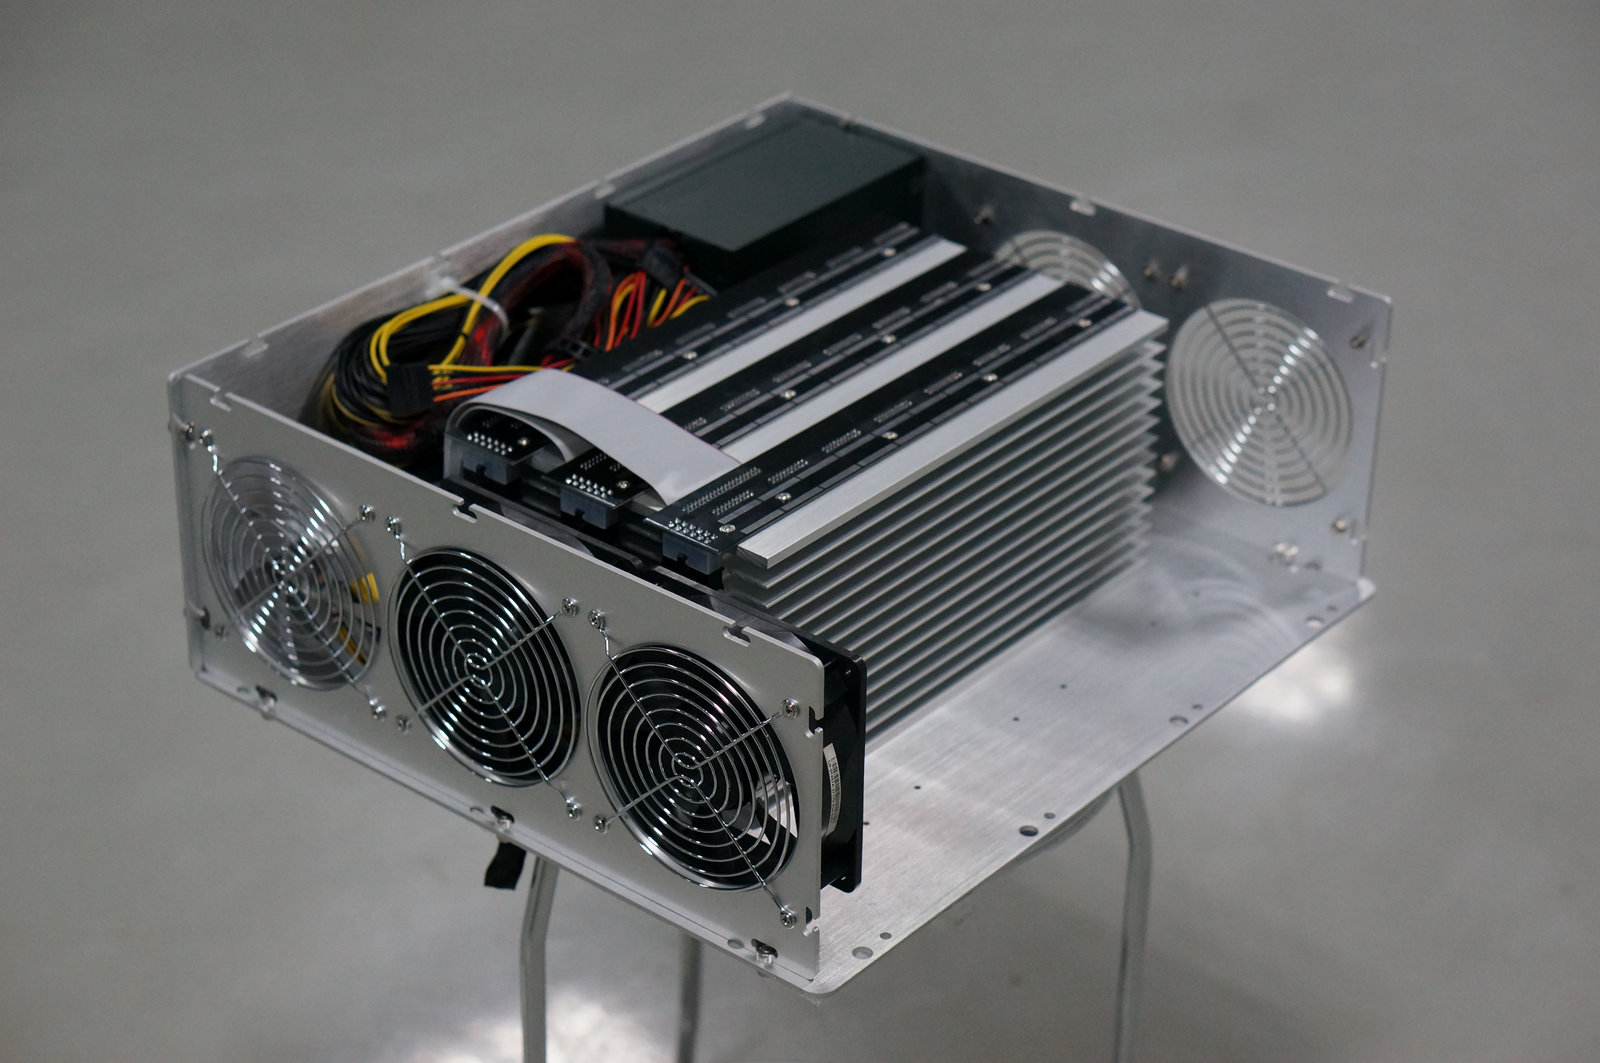
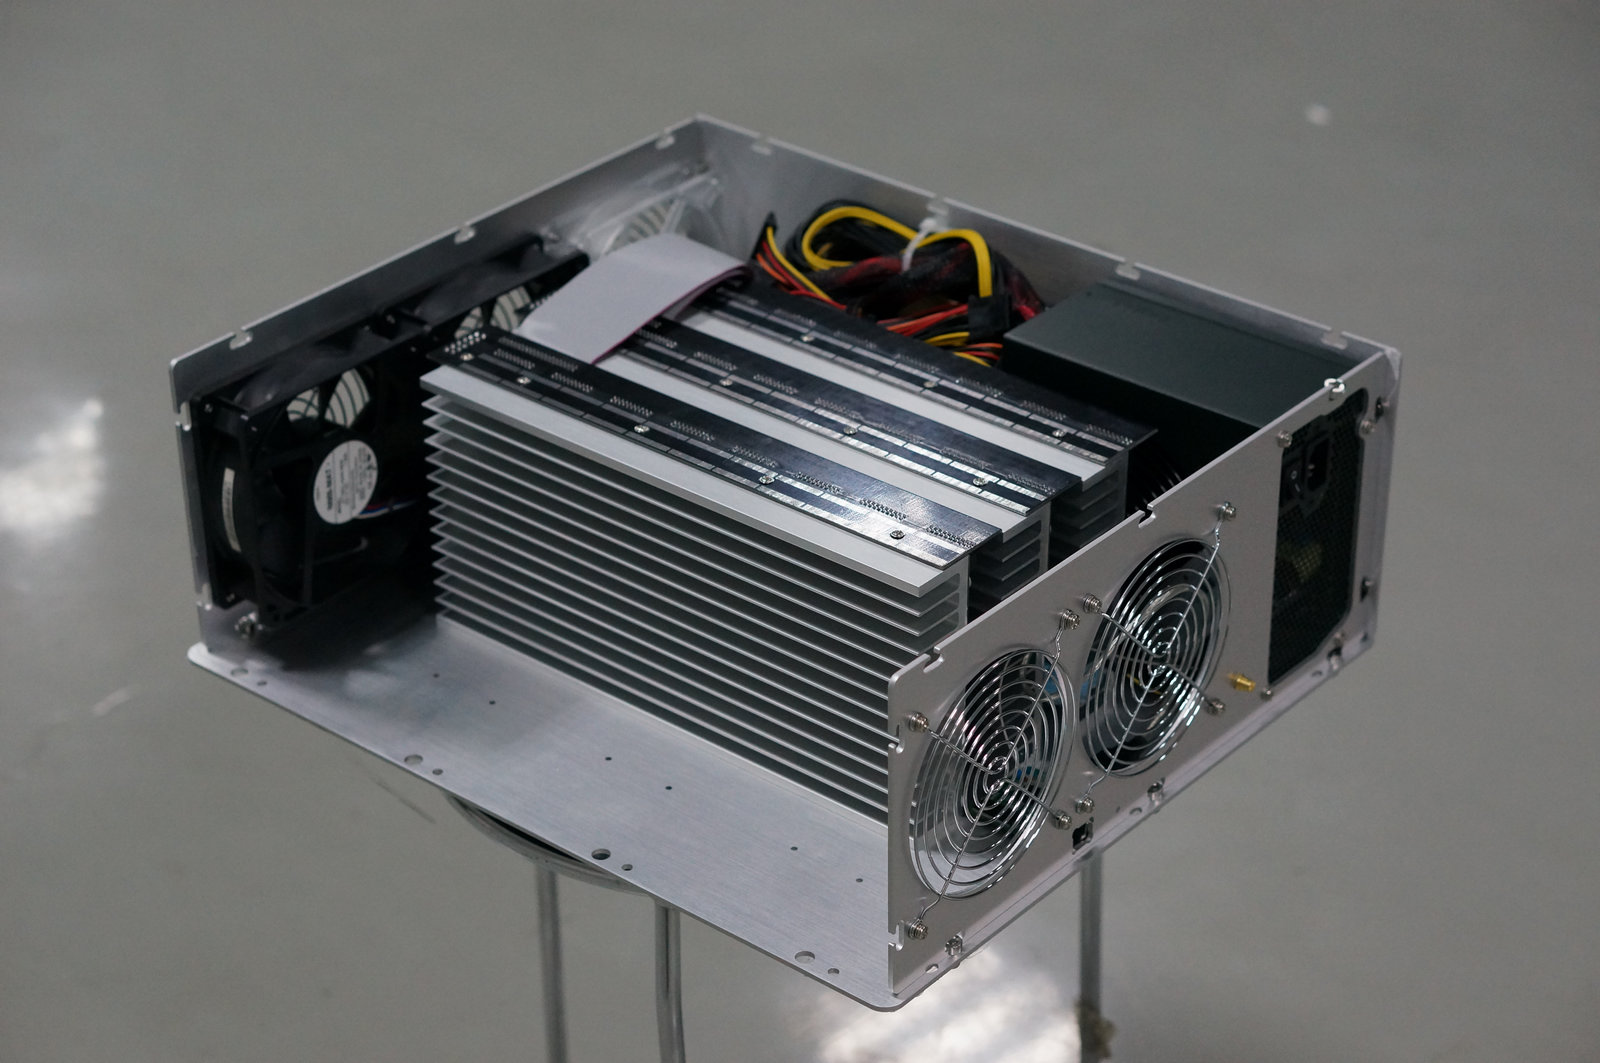
Avalon
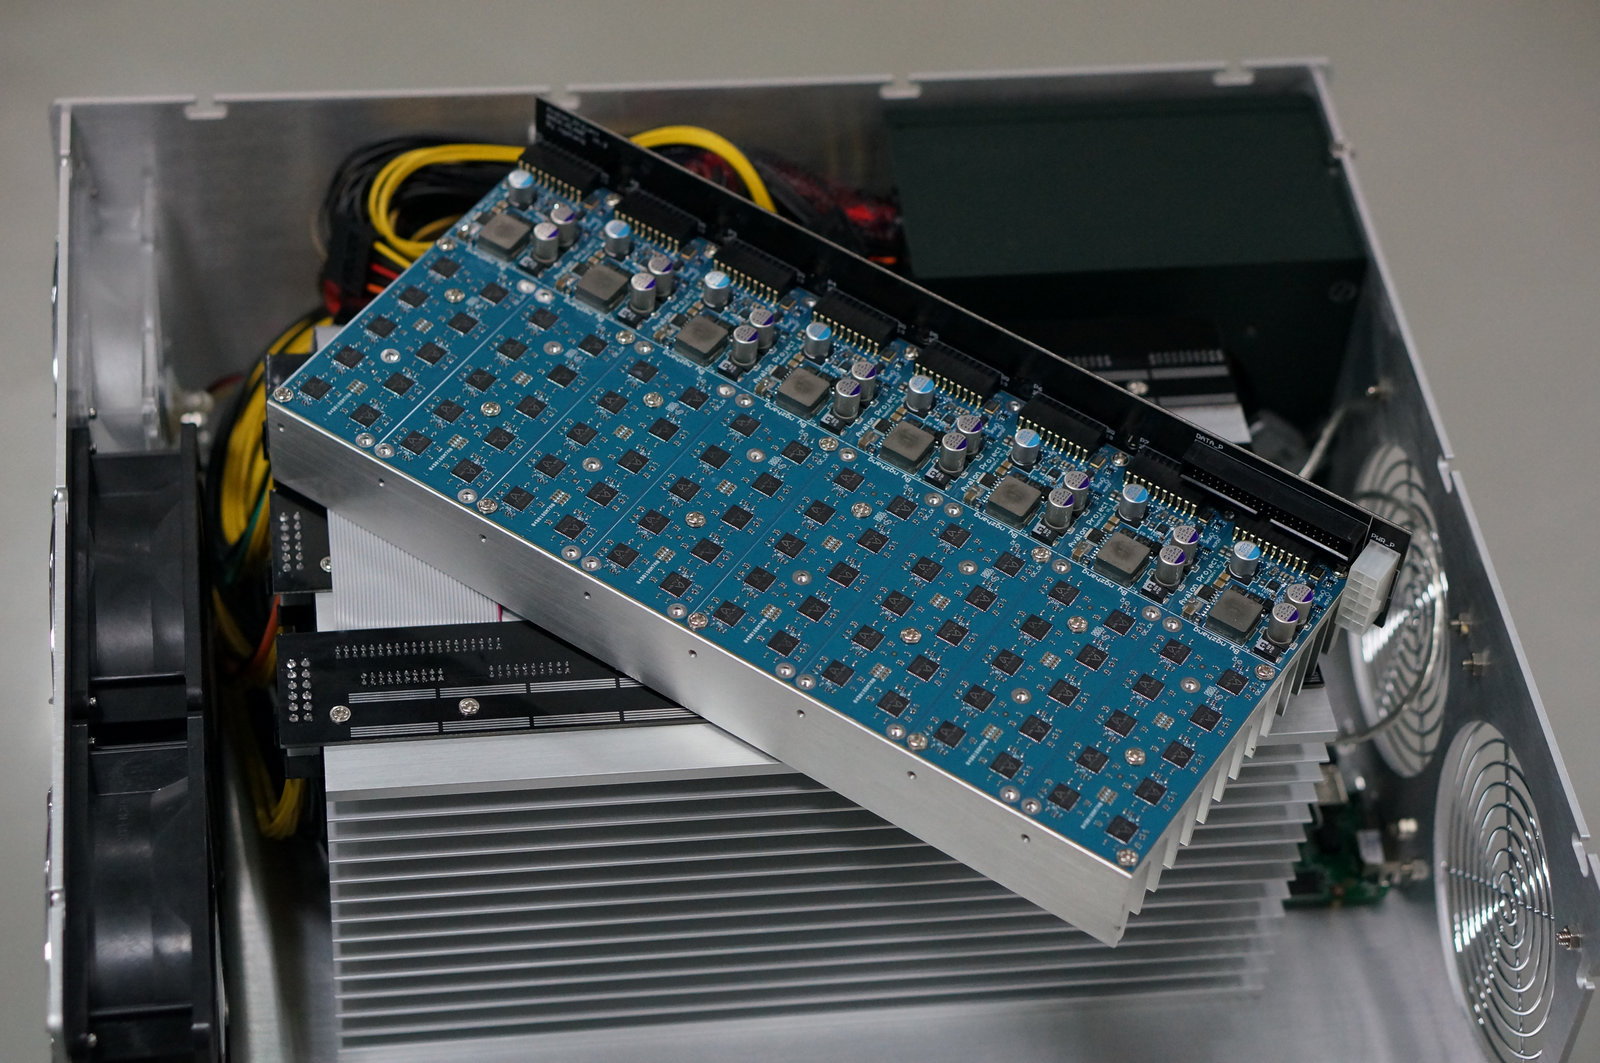
Pictures
Hardware Information
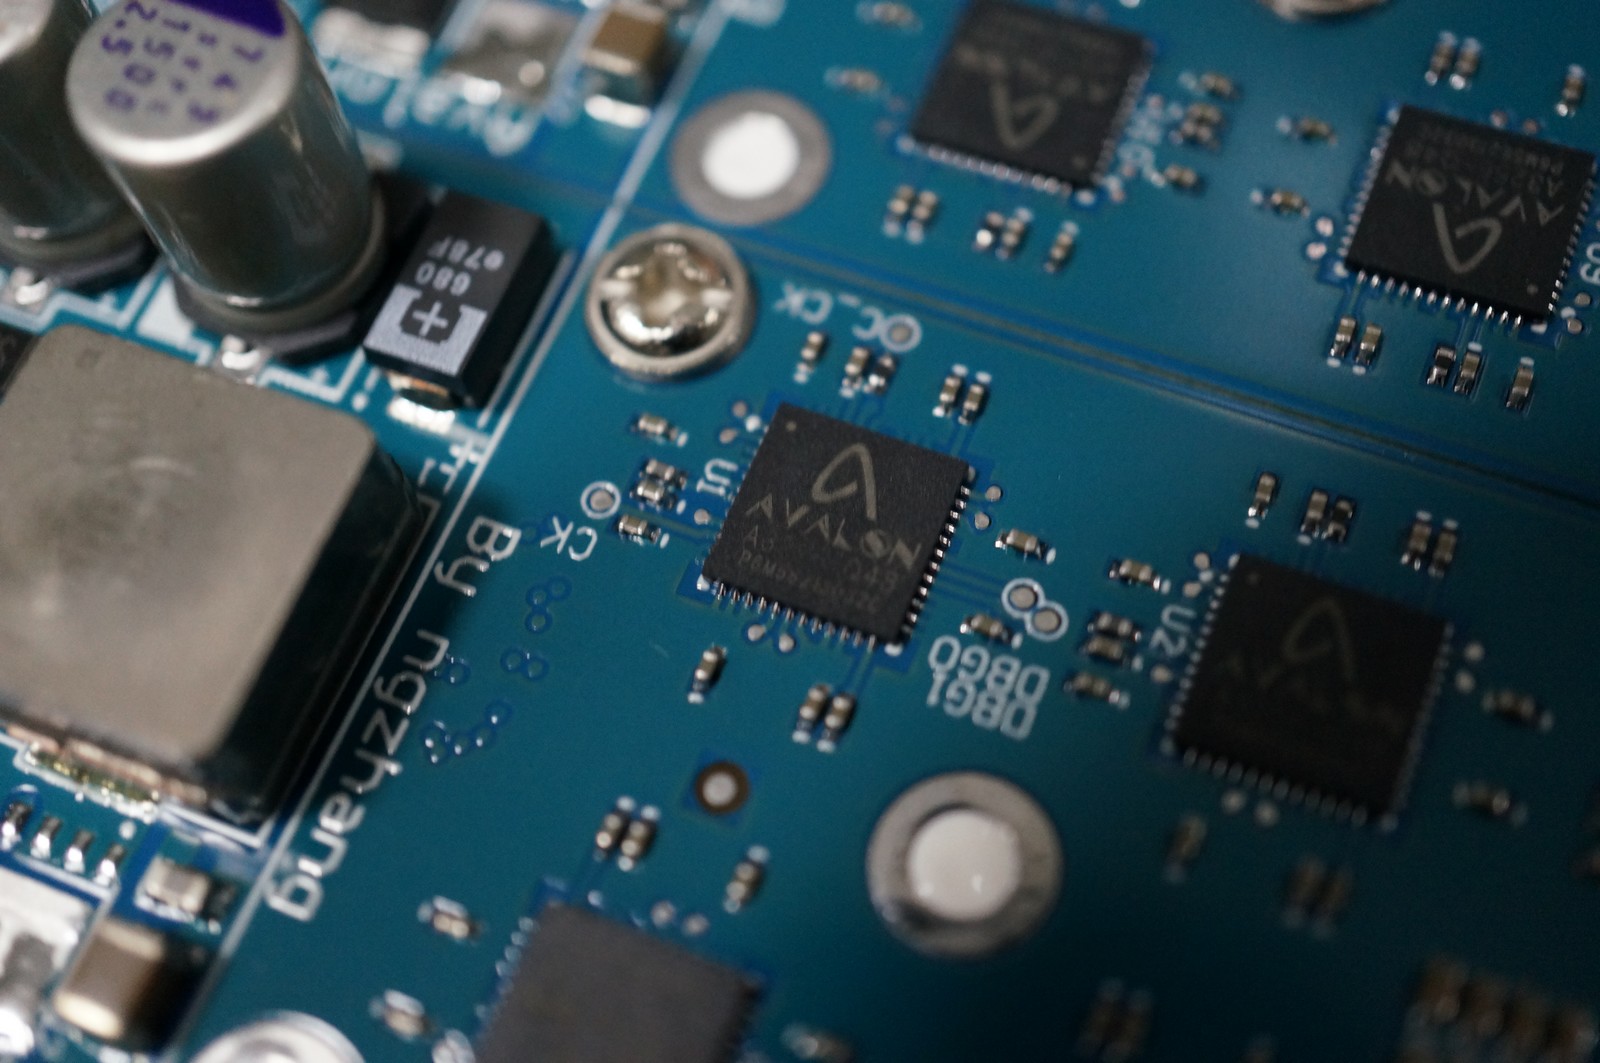
Chip Specification
Technology Summary:
   TSMC 0.11- micron G process
       5 Metal
Core Voltage: 1.2 V
I/O Voltage: 3.3 V
Core Frequency: 256+ MHz
Number of Pads: 48
   8 Data
   40+1 Power
Package Type: QFN48 -0.5 Pitch
Packaged Chip Size: 7 mm x 7 mm

Chip Interface
Data Pins (8 in total):
Clock                     i
Serial Data In  [2]       i
Serial Data Out [2]       o
Serial Data Bypass [2]    o
Reserved    [1]    -
Wafer
TSMC
TMEM91
Chip Size :   X = 3.9760 ,Y = 4.0560 mm
Reticle Size :   X/cell =  3 ,Y/cell =  3
Offset Value :   X = -3.7668 ,Y = -2.2990 mm
Alignment Mark :   (118.80,83.20),(-118.80,-83.20)
Alignment Mark Tolerant Distance :      1.6 mm
Notch Reserved Distance :   7.75 mm
Start Distance :   7.75 mm
Ring Edge :   3.0 mm
Photo Die Number:    4055
Power
Chip power efficienty: 6.6W/GHs @ 1.15 V
Module power consumption: 149W @ 20GHs/ 164W@ 22GHs
Machine power consumption: 595W @ 220V-AC/ 620W @ 120V-AC
User Guide
- Connect your laptop to the eithernet port of the Avalon
- Setup your laptop IP address 192.168.0.101
- Open http://192.168.0.100
- Make sure WR703N can access Internet, Configure WiFi: Network -> WIFI -> Scan(select your WIFI network) -> Join Network -> WPA passphrase -> Submit -> Save & Apply for connect to WIFI Internet
- setup your mining worker: Status -> Cgminer Configuration.
- Restart the cgminer service: System -> Startup,
- Check your avalon status: Status -> Cgminer Status
- Setup password/using ssh
ssh root@192.168.0.100 # Once you setup the password the telnet service will be stop. use ssh instead.
Cgminer option
--avalon-options 115200:24:10:45:282. this is the default avalon option. here is the details:
115200: the serial baud. this have to match the controller baud.
24: the miner count.(there are 3 modulars in avalon. each modular have 8 miners), if your avalon have 4 modulars. change it to 32
10: the chip count pre miner.
45: the controller timeout parameter. the valid number: 50, 47, 45, 40.
282: the chip clock. the valid number: 256, 270, 282, 300.
Run cgminer manually
In case you need to run Cgminer in linux console please run the following command:
- Stop/start Cgminer:
# /etc/init.d/cgminer stop
# /etc/init.d/cgminer start
If your avalon does not mine properly, please run Cgminer in debug mode with -D --verbose option. For example:
# cgminer -S /dev/ttyUSB0 -o stratum.btcguild.com:3333 -O xxxx:yyyy -D --verbose --avalon-options 115200:24:10:45:282 --api-allow "W:0/0" --api-listen 2>/tmp/cgminer-debug.log
TP-LINK TL-WR703N
There is a modify version of TP-LINK TP-WR703N inside Avalon. cgminer running at 703n, this 703n have 64MB ram and modified power supply. it power from the usb-client side(we moved a 0R resistor from J1 to R113 for that)
Why there is a ugly USB HUB there? because some compatibility problems come out if you connect the 703N to the controller board directly. add a HUB can 99.999% solve this problem.
After review this issue, i think maybe one or two HUB ports damaged during the delivery. just change to another USB port and try please.
- Latest Avalon images is here.
- Reflash
System -> Backup / Flash Firmware -> Flash new firmware image (make sure Keep settings is checked)
Attention: To avoid your WR703N become a brick, during flash your WR703N be careful DO NOT power off avalon, and DO NOT break your network connection. Just wait there till you see OpenWrt login web page again.
Attention: If not essential please do not re-Flash your Avalon. Because not all of WR703N issue could be resolved by reset button. If you want to play WR703N I would like to recommend you order a standalone TP-LINK WR703N from ebay or somewhere for studying purpose.
WIFI or Ethernet Cable ?
Avalon shipped with a 9db antenna after connect it to WR703N usually could establish good wireless connection with your WIFI router. But if for some reason you would like to use Ethernet Cable to connect Avalon with your network, please login OpenWrt and configure the LAN port:
Network -> Interfaces -> LAN -> Edit -> Common Configuration -> General Setup
Attention: You need to configure it correctly based on your own network enviroment. If anything wrong you might could not access your WR703N any more.
Start to mine
To maximize your Avalon miner's performance, it is recommended that you choose pools with the stratum protocol supported. The default mining pool configured in Avalon is ozco.in. To change it login to OpenWrt:
Status -> Cgminer Configuration
Click "Save & Apply" to save your update. To make it take effect immediately you need to restart the cgminer
System -> Startup -> cgminer # click Restart.
Currently the stratum pools that could work stable with Avalon are:
To get more information about how to configure specific pools, please check their website. If you run multiple Avalons, we recommend that you create a dedicated worker for each of them. This will make it easier to monitor your Avalons through the pool's website and identify possible problems.
Source code
- https://github.com/BitSyncom/cgminer/tree/avalon
- https://github.com/BitSyncom/cgminer-openwrt-packages
- https://github.com/BitSyncom/luci/tree/cgminer-webui
- https://github.com/BitSyncom/avalon-extras
FPGA controller
About P5 jumper: close this jumper will supply 5V to the USB-B port. in this system, the controller board power the HUB and the HUB power the 703N. but if you connect the controller itself to a PC, you must remove the jumper.
P2Pool Operation with Avalon
There is an /avalon branch Forrest committed to the p2pool github repository. Make sure that is checked out.
Next, include the option:
--fix-protocol: Do not redirect to a different getwork protocol (eg. stratum)
This will correct the Avalon's communications with P2Pool. Without this option, the default operation will spam share submissions and duplicate work to your running P2Pool instance.
Others
- There is a pair of gloves in Avalon package. please put it on when assembling or carrying.
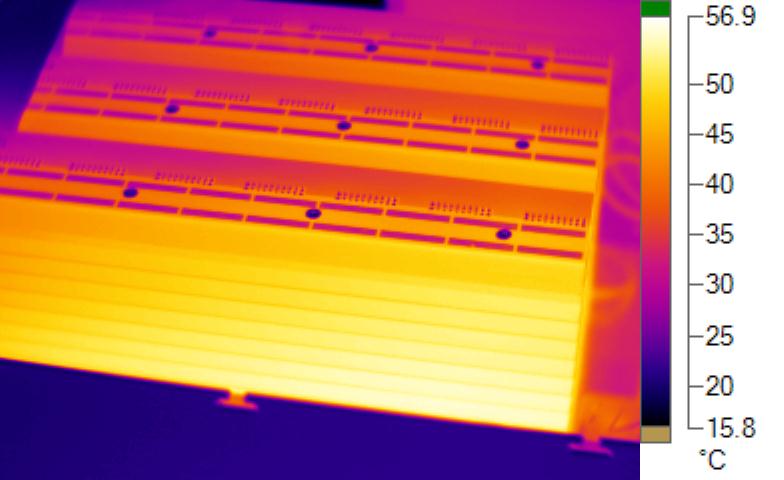
- About the plastic sheets: please remove them BEFORE mining. we design the case as a part of heatsink, so remove the plastic sheets is a must
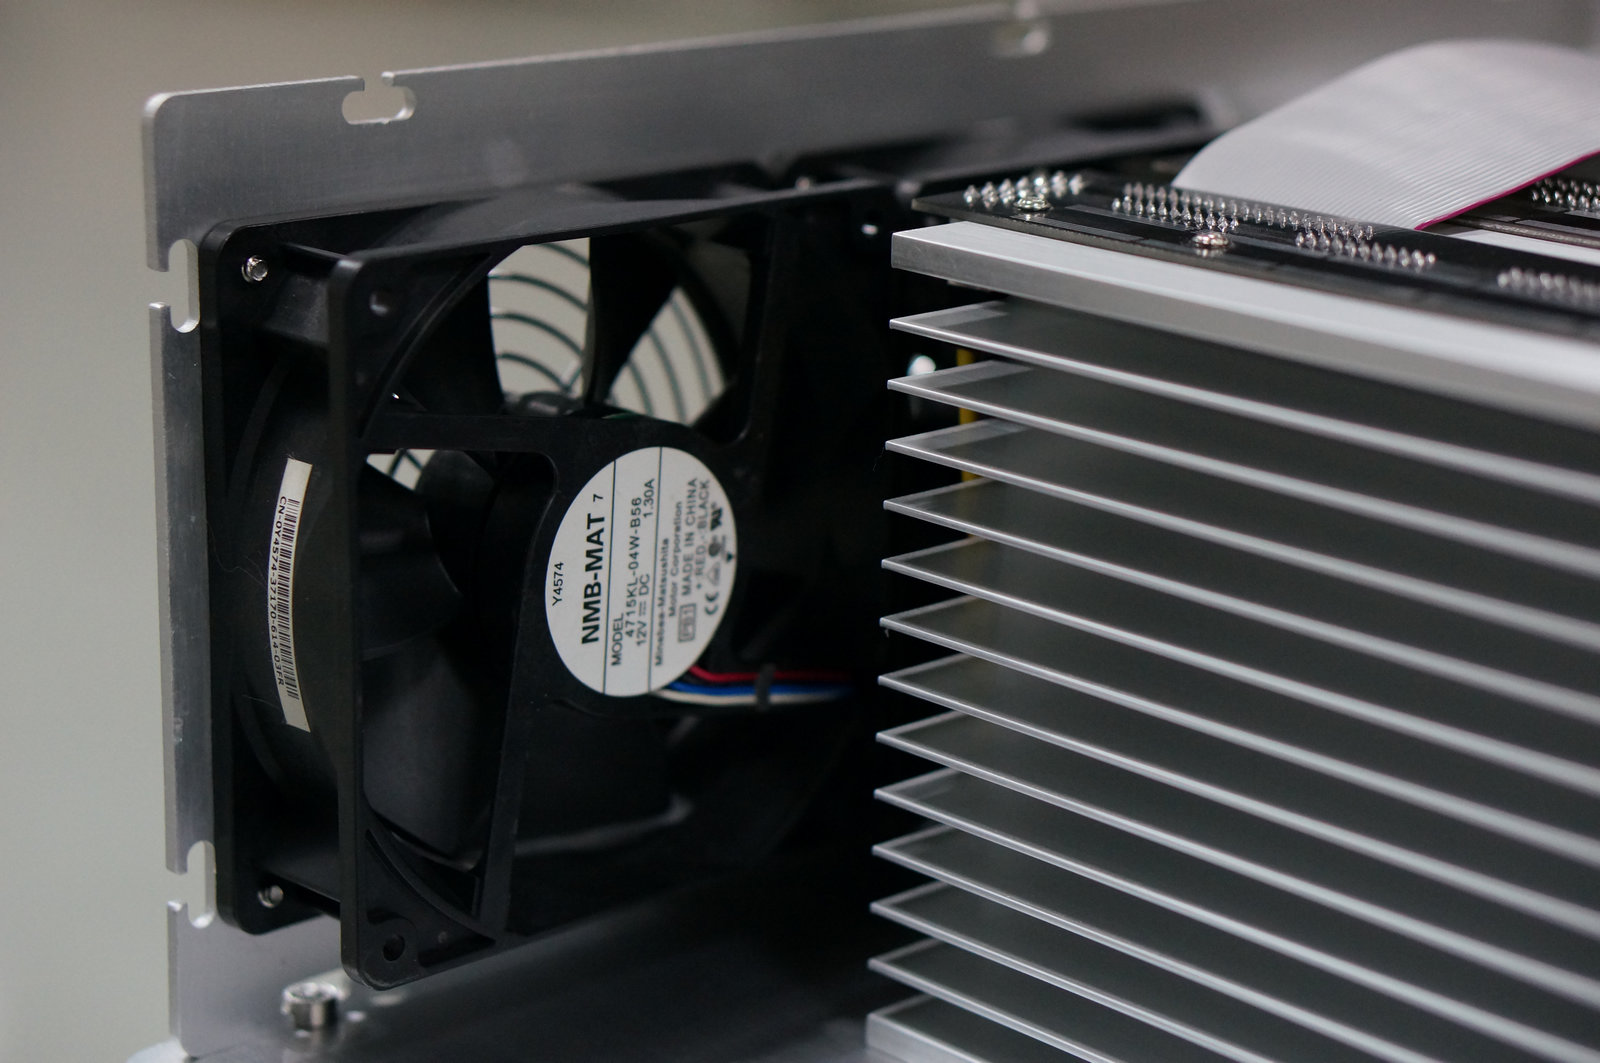
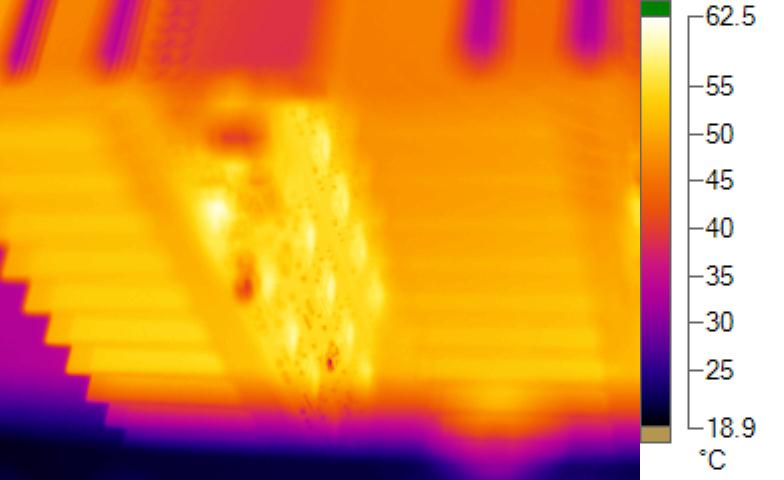
- About FAN change: DO NOT change the fans to a low speed model. will cause over heat. DO NOT install extra fans at the rear "fan socket". will cause PSU over heat and nearly useless for module cooling.
- About install extra heat-sinks on each avalon chip: please do not do that. there is a air gap between the die and package top, install a heatsink on chip is useless. and will cause overheating. because the top PCB copper act as a heatsink too. do not cover them.
- About water cooling: yes, do it.
Firmware
- Latest Firmware is here
- Check your firmware version. ssh/telnet to your Avalon run
cat /etc/avalon_version
- The Avalon Firmware SDK is here
NEXT
- Please always using the latest testing image. (check the date version number)
- Reset then Idle avalon before close it.
- Only record matched result, only record the last result in one batch read (should fix the temp/fan jumping issue)
- Fix no_matching_work only count in debug mode
- Update cgminer-monitor, fix [Accept] give null at the first few seconds of cgminer start
- Fix a typo on /usr/bin/cgminer-monitor, which make it cannot restart cgminer when no Accept
- If one batch read give all wrong result. reinit Avalon
20130321
- For fix the cgminer-monitor, please run this command after you reflash
sed -i 's/ $B / "$B" /' /usr/bin/cgminer-monitor
If you "check the Keep settings", you need fill API Allow to "W:127.0.0.1" after reflash, edit it here: "http://AVALON_IP/cgi-bin/luci/admin/status/cgminer/", "DO NOT" left it blank
If you "uncheck the Keep settings" when reflashing, Please "reconfigure your Avalon" after reflash
- Update Linux from 3.6 to 3.8.3
- Update OpenWrt to r36095
- When there is no network. automatic idle chip after detect avalon, save power and protect your avalon overheat
- Idle chip when cgminer close avalon
- Add device_reinit support
- Add frequency, modular configure on web ui
- Add API Allow on web ui
- Add pool balance on web ui, by default balance on all 3 pools
- Add stratum+tcp:// by default
- Display Frequency on status page
- Fix the kern.err kernel: ... ath: phy0: ... bug
- Fliter >=100 degree result for debug
- Replace TempMax with No Matching Work
20130225
- A new cgminer status page
- /etc/avalon_version include all repo commit
- Fix temp_history_count, make sure 2~3s call adjuest_fan
20130218
- Update adjust_fan()
- Using avaon default worker
20130212
- Update fan pwm
20130205
- Update fan pwm MAX/MIN
- Sync with upstream, fix the memory leak bug
- Monitor the Accept number
20130127
- Add overclock code
- Change the cgminer configure to UCI system
- Add the simple web ui
20130117
- Update OpenWRt to r35097
- Update cgminer to 2.10.4
- Remove /www/miner.php, change cgminer cron job to */5
- Start ntpd before start cgminer
Test Plan
- New firmware don't break Avalon for sure
- New firmware don't use all flash. have to keep some space for save configuration
- Either and WiFI connect works fine
- Cgminer works fine(the kernel user driver, cgminer it self, cgminer-monitor and uci configurations files)
- After configure cgminer. [Save & Apply] can restart the cgminer
- The Status/API log page works fine
- Test mining
- Test the cgminer-monitor
- Make sure 80/22/4028 open on WAN.
Unofficial Firmware
How to Compile Your Own WR703N Firmware for Avalon
1. First check if you have met the building prerequisites. Checkout this page first OpenWrt Buildroot – Installation
For example, if your OS is Ubuntu 12.04 LTS, install the required packages like this:
sudo apt-get update
sudo apt-get install subversion build-essential
sudo apt-get install build-essential subversion git-core libncurses5-dev zlib1g-dev gawk flex quilt libssl-dev xsltproc libxml-parser-perl
2. Now get the source code.
mkdir avalon
cd avalon
svn co svn://svn.openwrt.org/openwrt/trunk@35097 openwrt
git clone https://github.com/BitSyncom/cgminer-openwrt-packages.git
git clone https://github.com/BitSyncom/luci.git
git clone https://github.com/BitSyncom/cgminer.git cgminer-20130108
3. Prepare the code and build.
cp -R cgminer-openwrt-packages/cgminer openwrt/package
tar -zcvf cgminer-20130108-HEAD.tar.gz cgminer-20130108
python -m SimpleHTTPServer&
cd openwrt
ln -s package/cgminer/root-files files
ln -s package/cgminer/data/feeds.conf
cp package/cgminer/data/config .config
sed -i 's/ck.kolivas.org\/apps\/cgminer\//localhost:8000\//g' openwrt/package/cgminer/Makefile
./scripts/feeds update -a &&  ./scripts/feeds install -a
cp package/cgminer/data/config .config #overwrite again
make -j4
cd ../luci
git checkout cgminer-webui
cp -R applications/luci-cgminer ../openwrt/build_dir/target-mips_r2_uClibc-0.9.33.2/luci-trunk+svn9679/applications/
cd ../openwrt
make -j4
4. Finally you could get the freshly built firmware files under openwrt/bin/ar71xx/
IRC: ##avalon @freenode.net
##avalon @freenode.net Thanks to midnightmagic create that channel
FAQ
- Why ASIC bitcoin mining?
- Why Avalon?
- Who made Avalon?
- How to order one?
